The School File It Folder 2
As part of our “School Station” set up we not only try to contain the constant stream of school paraphenalia but paper too!
As a teacher I was well aware about how much paper gets sent every day (and also aware of how many actually never make it into the hands of parents!) So before Master O even started school I got to work on a school File It Folder.
This will be a place to organise and store EVERY bit of important paper for the school year.
Step 1. Gather Your Supplies
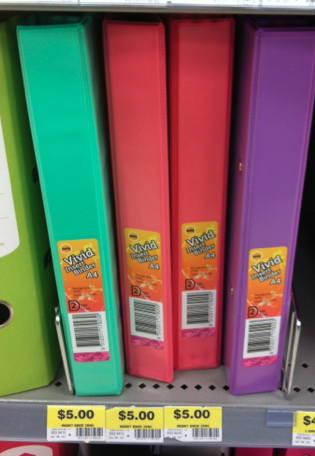
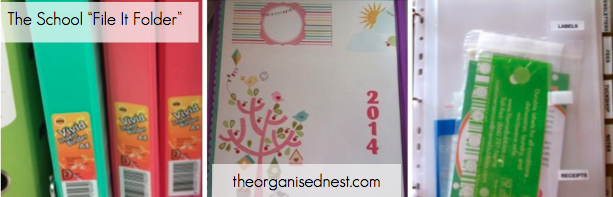
I found these cute coloured “Marbig – Vivid” folders at Big W!
You will need
- A4 Ring Binder (one with an insertable cover and spine works best for decorating! )
- Extra wide Tabbed Dividers
- Plastic Pockets
- Scrapbook Paper (Optional)
- Labelmaker (Optional)
Step 2. Create a Cover
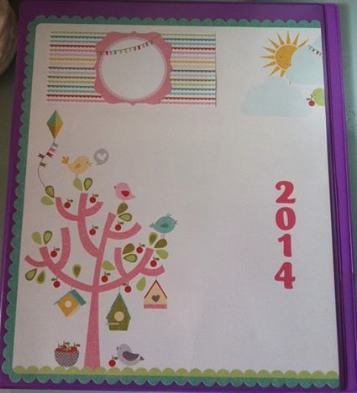
You will be looking at this folder a LOT, so why not make it pretty! Little Mis A chose a cute sheet of Scrapbooking Paper from Spotlight. 12 x 12 Scrapbooking paper makes the perfect cover as it the perfect size!
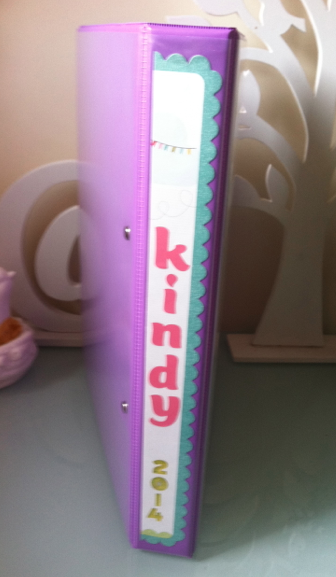
Cut about 3 cm’s off one side to create the front cover and use the offcut for the spine! Add the date and your child’s name and your ready to go!
Step 3. Create Dividers
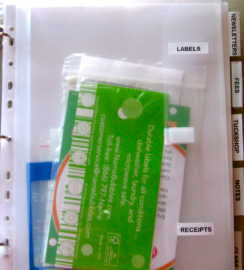
The dividers are whats make this folder functional. Extra Wide tabbed dividers work the best as you can still view the tabs when the folder is closed making access easy. Although we have had a school folder before the same sections didnt really apply to Kindy. Some ideas are
- Calendars and Rosters
- Class Notes
- Rules and Regulations
- Lists (Uniform/Books etc)
- Newsletters
- Fees
- Receipts
- Certificates/Awards
- Photos
- Reports
- Artwork
- Special Days (Excursions/Celebrations)
If you are creating a folder for school you might also want to add sections for;
- Tuckshop
- Excursions/Camps
- Specialist Lessons
Simply use a labelmaker (or your neatest handwriting!) to create labels for each divider tabs.
Step 4. Fill!
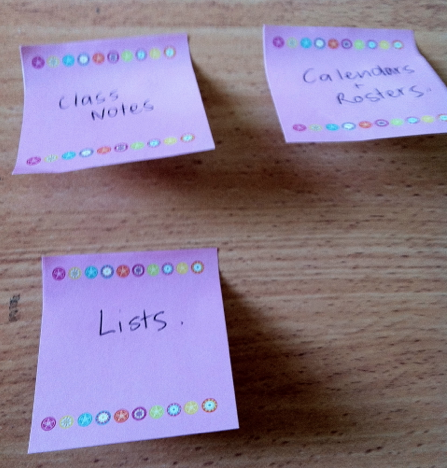
I use post it notes to help categorise the papers I already have. Then simply amke a divider for each category!
Time to say goodbye to the random paper piles! Firstly fill each category with plenty of plastic pockets, you dont want to be searching for more half way through the year. Now categorise your papers and start adding!
Step 5. Extras.
I also add a large clear plastic envelope with velcro closure into the front. I keep all of the kids name labels inside it! I am also on the hunt for some specific “certificate” plastic pockets!
End Of The Year.
At the end of the year, I go through the folder and cull whatever we no longer need and add reports and any other end of year extras to create a School Memory Folder. It is so nice to be able to grab a folder and look through everything your child has accomplished and experienced during the school year! I have even thought about creating a Project Life school album with all the folders contents!
Be warned having a folder doesnt ensure you will always be on top of the paper pile! You need a system!
THE SYSTEM
A folder doesn’t fill its self. You need an effective system in place for dealing with the paper.
READ. Check for notes DAILY. Check bags, lunchboxes, communication books and if you can the school website.
WRITE. Write down ALL DATES immediately. We write them on our family calendar and in my Planner. Be sure to write in your diary
a) when the note needs returning AND
b) when the event is taking place.
ACT. What do you need to with this information?
- Does it need returning? If it does, fill it out and put it back in their school bag immediately!
- Do you need it for future reference? File it away in your “SCHOOL FILE IT FOLDER”
- Do you need to tell anybody else about the event?
- Organise different pick up arrangements or a day off work?
And now you are ORGANISED!
You have a storage place and a system to help you manage the school paper clutter!