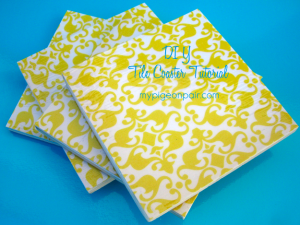
D.I.Y – Tile Coaster Tutorial
The Winter wind has left our outdoor area dull and drab. We spend a lot of time sitting, playing, eating and just being in this area and it is one of my favourite spots. So as Spring approaches I would love to give this area a little TLC in the form of some sunshiney yellow redecorating!
The first project for the outdoor area was to get crafting and make some….
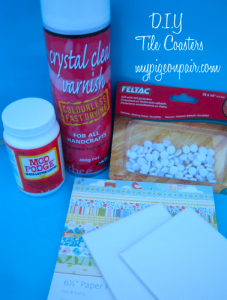
This is one of those projects I have been eyeing off on Pinterest forever (ok maybe a while) But alas most of the projects I lust over on Pinterest involve “Mod Podge” which appeared to be an “American” product. One day browsing the aisles of my local spotlight, less than 3 minutes away, I discovered they had the illustrious “Mod Podge” IN STOCK! Needless to say I grabbed that baby and ran home to create a long list of Mod Podge DIY projects I could now complete!!!
What you will need:
- 100×100 White Tiles (these were 30c each at bunnings)
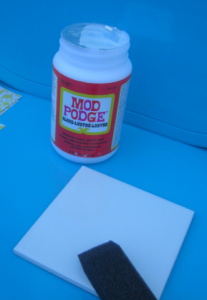
- “Mod Podge” – Spotlight
- Scrapbooking Paper
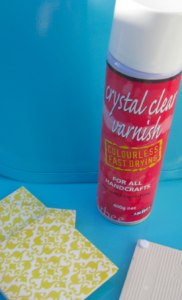
- Clear Waterproofing Varnish
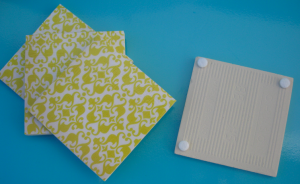
- Self Adhesive Felt (or Felt and a hot glue gun) – I bought mine from Bunnings
- Foam Brush – Check out the Dollar Stores.
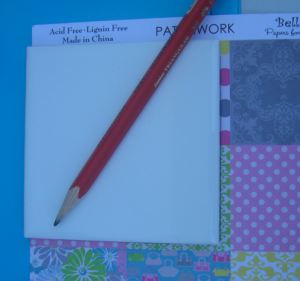
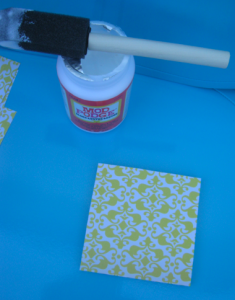 3. Place the scrapbooking paper square onto the tile. Act quickly! You only have a few seconds to get it straight before the mod Podge “glues” it into place! Leave it to dry for 10-15 minutes.