Organising The Fridge
The first Organising Project on our list for July, is the Fridge!
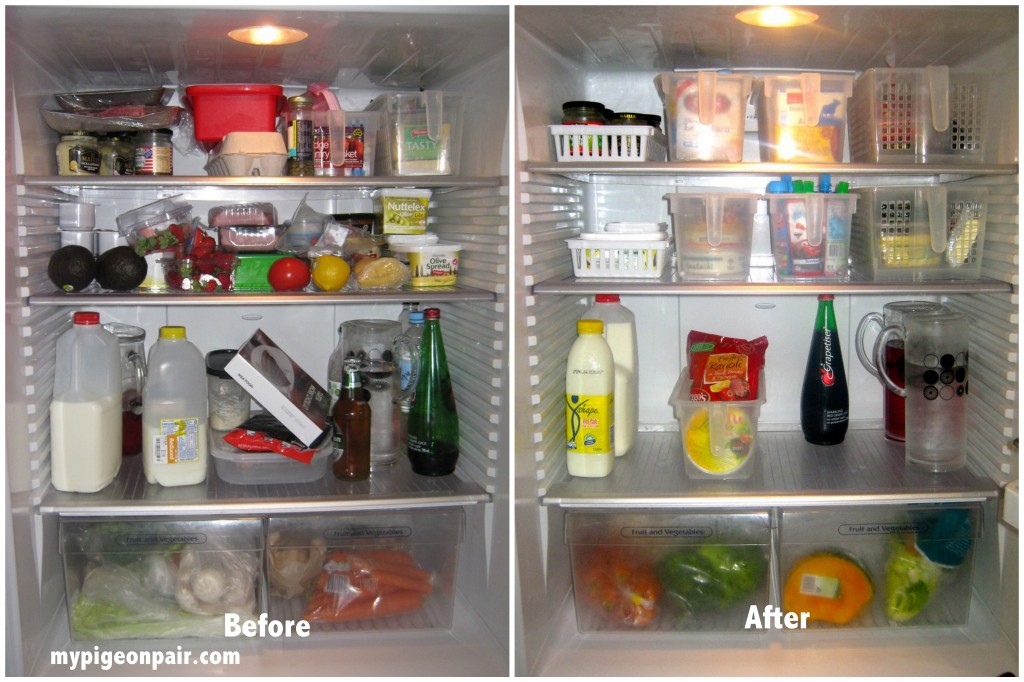
Just to remind you of what a disaster our fridge was, here is my favourite kind of photo a Before and After pic. 
The general problem was that nothing had a space. Everything was just thrown in, piled on top of each other, there was NO ORGANISATION!
With Step 1 (Identify the Problem) and Step 2 (Gather Inspiration) completed it was time for
Step 3….Empty, Purge, Clean, Sort.
We are pretty good at emptying out the Fridge on a regular basis. We usually empty out any left overs or items past their use by date on bin day. With the Fridge contents emptied onto the kitchen bench, any expired items purged, the shelves cleaned and all items sorted into categories it was time for Step 4.
Step 4… CONTAINERISE!
Ok so that is probably not a real word, but I like it all the same…
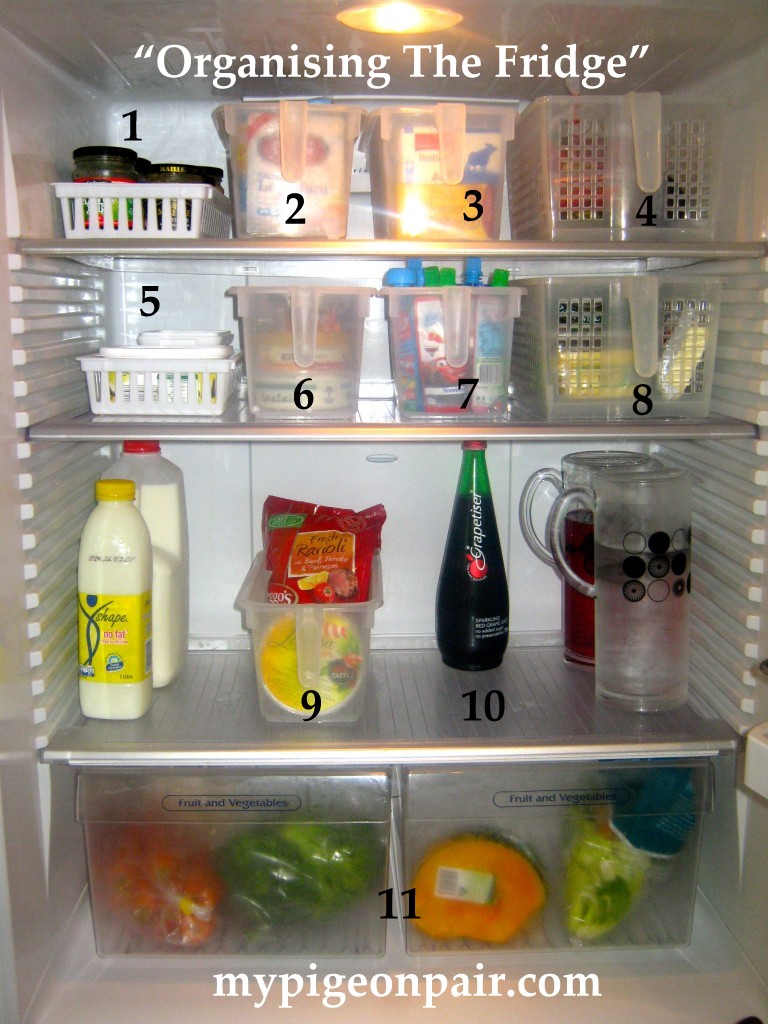
Here is what we used..
Product List
1 and 5 = Small White Baskets – KMART – 2 for $2
2,3,6,7,9 = Clear Handled Containers – KMART – $3 each
4,11 = Large Clear Handled Containers – DOLLARS AND CENTS – $3.99 each
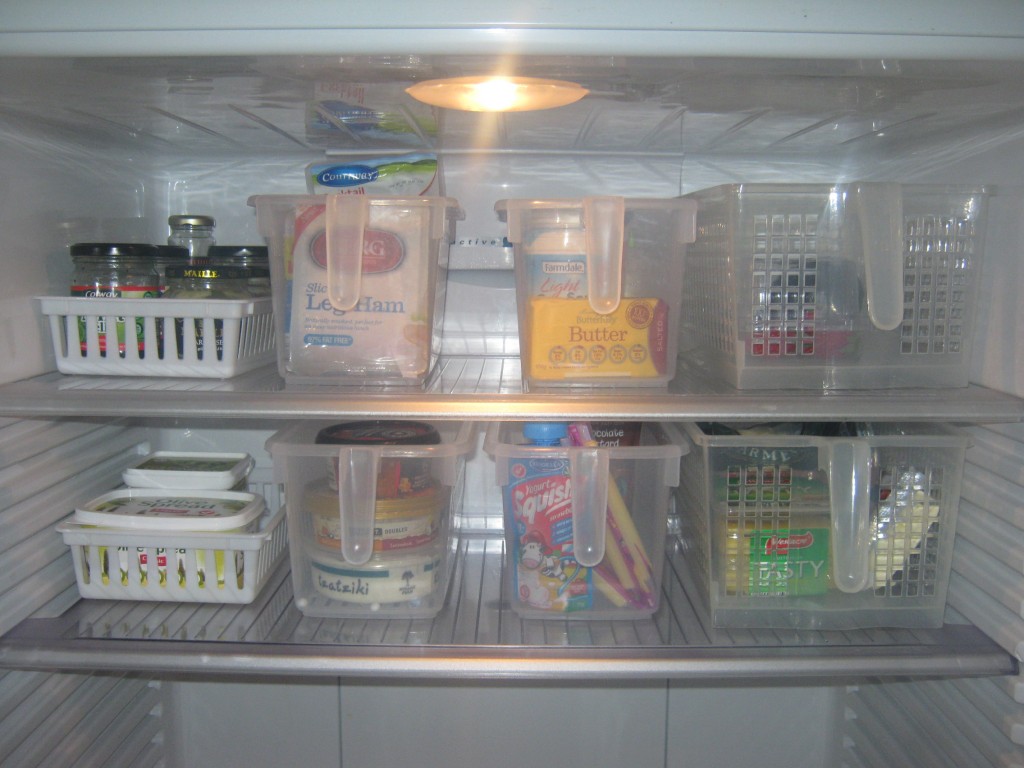
So what is in all those containers. I grouped like items together into the following categories.
- Condiments
- Deli
- Dairy (Cream, Butter, Yoghurt)
- Fruit & Veg (Tomato, Avocado other items I don’t want squished!)
- Margarine
- Dips
- Snacks (Squeeze Yoghurts, Cheese Sticks)
- Cheese
- Meals or Leftovers
- Drinks
- Fruit & Veg


